I have made small 5 x 7 bags before. My son asked If I could make a bag like mine for his GPS. I pulled out and digitized the bag.

I made noted on the bottom of the back of the bag for the cutting instructions.
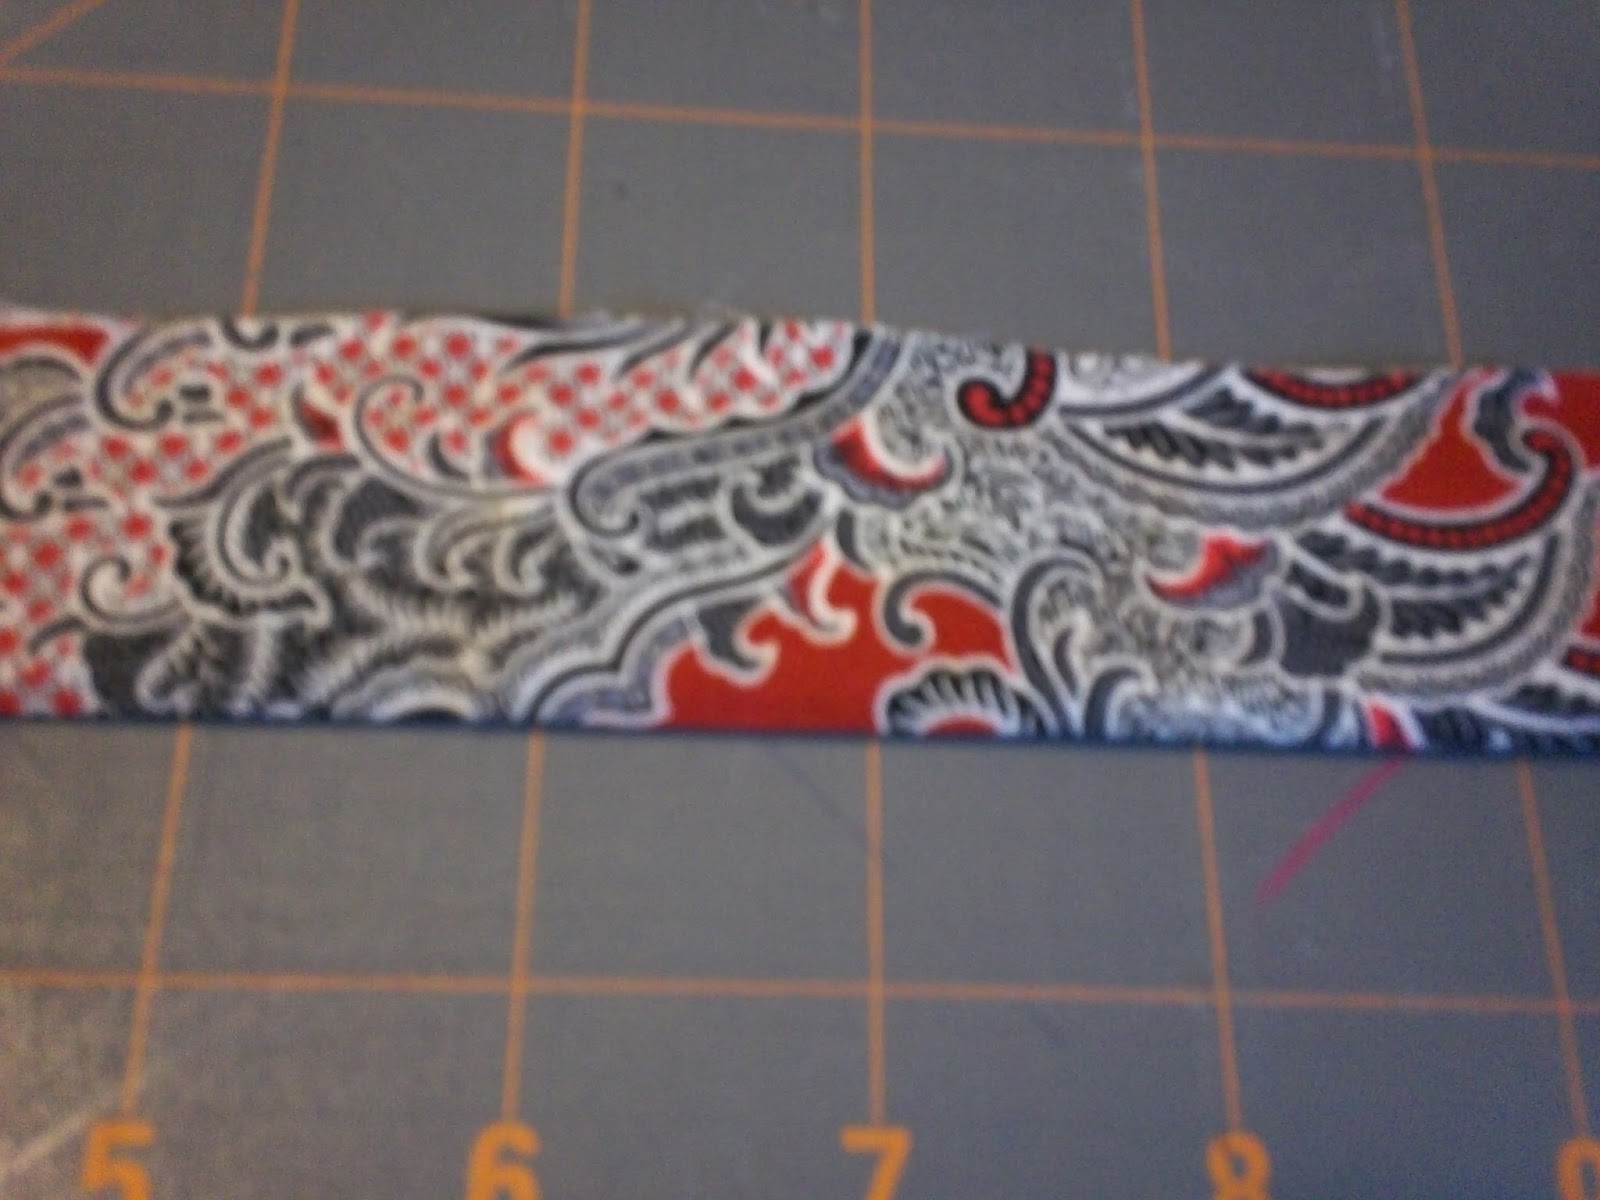
Cut 1 - 7 1/2 x 2 front top
Cut 1 - 7 1/2 x 10 front bottom
Cut 2 - 7 1/2 x 6 back
I sandwiched a piece of batting between the front top and the front bottom

I embroidered the back first, sandwiching the hooped stabilizer between batting and the two back pieces.

Here is my finished first run.

The inside is hard to see, but I used a cross-stitch type stitch to finish the edges.

I will also make a few changes to the PES file. I stitched the placement for the zipper, than the stitch down of the zipper was in the same color as the stippling, so my embroidery machine didn't want to stop. I'll fix that. I used blue painters tape to hold the zipper in place.
I went ahead and made a bag for my son out the camo fabric he wanted. I did not make him take the red paisley bag.


No comments:
Post a Comment