Sunday, September 29, 2013

Apple Table Runner

I found this picture of a Table Runner I made for my Mom.  I hand sewed and was so excited to give it to my Mom.  She collected table kitchen stuff, like a cookie jar and pot holders.


A while after I gifted the Table runner I found it in her linen closet.  She told me she didn't want to mess it up, because I worked so hard on it.  I talked her into using it on her dresser.  When she passed away, I made sure this is one thing I grabbed to bring home. 

Saturday, September 28, 2013

Embroidered Name Tags for Luggage

At church we have three girls in our young women group who are blind.  We decided to make tags for their bags for going to camp.  On one side is the embroidered name and on the other is their name embroidered in braille.  I digitized it myself.   I found a cheat card online for the braille alphabet. Using a period, I just arranged each letter and saved that.  After lined up each name I sewed them out. 

We also as a group one adult lady with a sewing machine to each young women, helped them make a tote bag for their materials to carry to camp

Friday, September 27, 2013

Quilted Carryall

The middle daughter and I saw this great tote bag while on the way to the Twin Cities.  We sketched it out and then tried to measure it without the owner knowing, based on the size and location at the booth in McDonald's.  It had tons of pockets.  A Busy mom of three needs lots of pockets.

The daughter went out and bought fabric for the bag, but she bought a knit/rayon, not a cotton.  The stretch took me a bit, but after a few tries, that didn't work.  I found the perfect pattern.

After a few days of cutting and quilting I had my first Quilted Carryall. 
The directions were pretty good, it had you cut out each section and then you quilt each section
After all the quilting, you cut each section down to the finished dimensions (This where I had a problem).  The amount I cut off was a lot.  Next time I make one I will start with smaller sections, closer to the finished dimensions. 

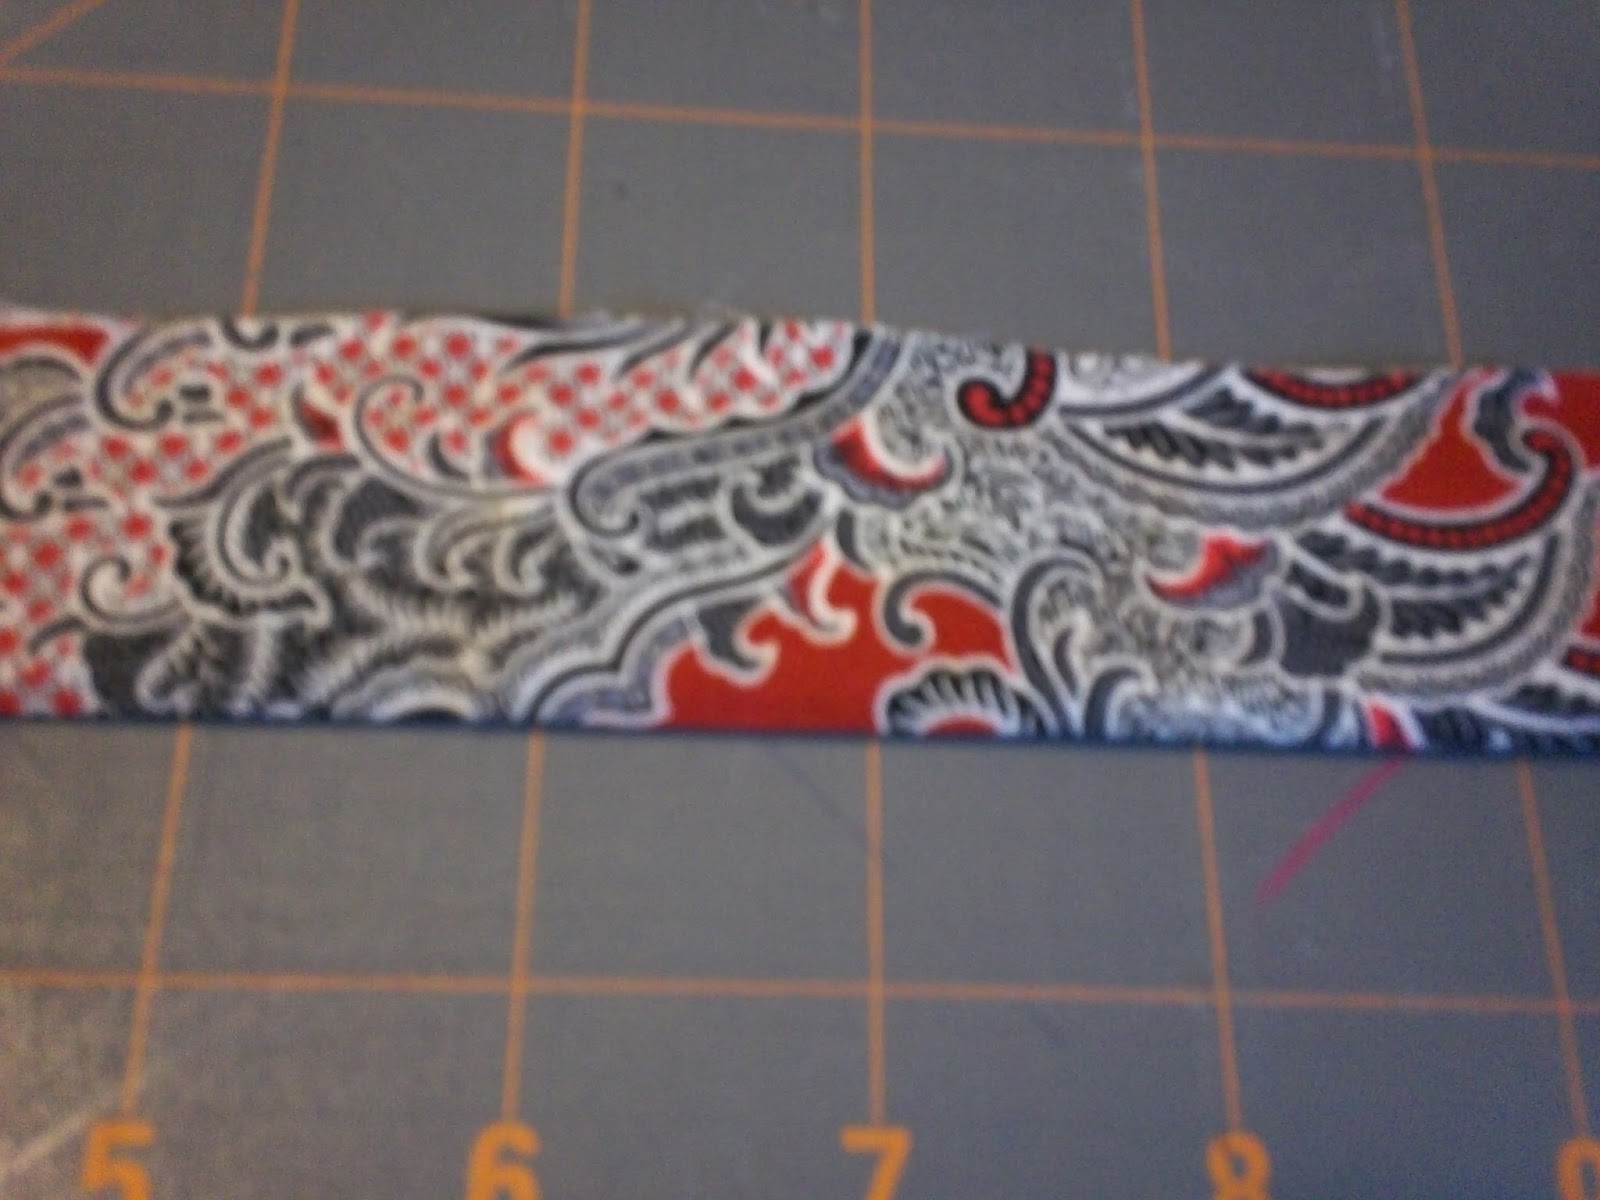
Next you attach the binding to the pockets. Then you begin to sew each panel to the next one.
 

A new technique I had not tried was using web belting as binding for the top edges, it  held the zipper band to the top and captured the web belt straps in place.  I really liked how the zipper band worked out. 

This is the finished bag.  I found if I labeled each section, with a pinned on Post-It-Note, it was easier to figure out what part was what. 
My favorite part was the size and all the pockets, there are eight pockets inside and eight on the outside.  The end pocket you can see in the last picture held my big 32 ounce water bottle.  The bag stood on it's own because I used two layers of duck cloth and the fashion fabric, stray basted together with the batting.   I did lengthen the straps, I hate short straps holding my bag up under my arm to high.  You know when you wear a bulky winter coat in northern Minnesota, the extra three-four inches of a strap is nice.

Thursday, September 26, 2013

Lamb Bag

A friend's daughter was visiting with her toddler.  During church, the toddler "A" kept watching my granddaughter over the pew.  My Granddaughter, "K" has a church bag with colored pencils, and drawing tablets and such.  I asked my granddaughter to c=share, she loves that.  After church service was over I mentioned that "A" needed a church bag.  Two days later I was rummaging in a drawer looking fro something and I found a partially finished bag.


It was a lamb, too cute, So I embroidered her name and "I am a Lamb of God" on the bag, filled it with colored pencils and notebooks, and mailed it the same day.   I got Facebook pictures two days later, that "A" loved getting mail and the bag was the perfect size for a three year old.

Wednesday, September 25, 2013

Zipper Crazy

I am a little zipper crazy.  I have three drawers of zippers.  But when I need a zipper, I can't find what I want.  I sorted the zippers by size.  7 inches and smaller, 9 - 12 inches and 13 inches and larger.

 This is the before.
This is the after.  In side each size drawer I rubber banded like colors and sizes together.  I also flipped them where the tops are at the front of the drawer, so I can see what I have fast.

This made finding zippers for the GPS bags the other day so fast.
 

Tuesday, September 24, 2013

Scrub Caps

My husband is a physician.  A few years ago I made a scrub cap as a gift for a friend.  The friend liked it so much he worn it immediately and was showing it off to his co-workers.  Because the Husband can’t dress up for Halloween, he thought it would be cool if I made he and his co-workers scrub caps out of pirate fabric for Halloween.

Last Year Because of my surgery I didn’t make the caps.  On Halloween morning, the co-workers were rummaging in my husband’s desk looking for the new caps.  Very disappointed, the each pulled out old ones and wore them instead.  So this year, I picked a spider and spider web fabric.


Over one week I made 24 scrub caps. 

Day One, I cut four yards of fabric, using Butterick pattern #4946.


Throughout this process, I used assembly line sewing.  I had two fabric boxes one on each side of me on the floor. Pull out a pinned cap from my left, sew the cap, and drop the cap in the next box on my right.
 
Day Two: I pinned the crown to the tops while watching a movie with one of my grand-daughters.

Day Three:  I basted the crown (front) to the top. 
 
 
Day Four:  I used the serger and serged the crown to the top, then the back and across the front.
Day Five: I made 48 straps.  Using the Bias Tape machine made it faster, than ironing each strap.
Day Six: I hemmed the back of all 24 caps. Then I pinned the straps into the front hem.
Day Seven:  I hemmed the front securing the straps in.  
I can make a single cap in about 30 minutes, but 24 caps took me eight hours.
All packed and ready.  24 caps ready for Halloween eight weeks early, Whoo Hoo!


Monday, September 23, 2013

Baby Banner

A friend's daughter had her second baby a girl.  I saw in a magazine and Baby Bunting Banner, with the baby's name spelled out.  I liked the look, but I wanted mine to not go across (horizontal), but vertical.
I started with the butterfly and flowers, using scraps, from the crochet hook cases.
This is all of the parts drying on a towel. 
To finish the banner, I used doubled over Ribbon, spaced about two inches between each piece.  The embroidery took me a few days. Because some weeks, I only get to sew for an hour, here and there.  I was so excited I used Facebook and contacted the Mom and asked for her address, then mailed it the same day.  She posted Facebook pictures of the banner hanging over the changing table and she said" Paige watches her name, when I'm changing her and her big brother Dylan loved it too".  I might need to make Dylan one of his own.

Next time I'm going to embroidery the ribbon into each piece, now that I know how far the spacing needs to be. 


Sunday, September 22, 2013

Treadle sewing machine

I have wanted a treadle sewing machine, since I found out in my twenties that no-one knew what happened to my grandmother's treadle.  She taught me how to sew with a treadle machine, before my legs could reach the treadle. 

A friend and I found one at a garage sale.
 The top needs some work, but I think that all the gouges and stains give it character.
The drawers were empty, but the machine works and the shuttle to hold the bobbins was in the machine.  I took the machine out and dropped it off to have it serviced. 
 
The machine doesn't have model number just a serial number, when I get it back, the service guys is going to leave it threaded for me.  Plus he has bobbins for it.  I'm going to have to spend some time finding a manual online. 

Saturday, September 21, 2013

New sewing desk

I bought a 1960's sewing desk off of Craigslist.com.
All three drawers came filled with old sewing stuff.
It was a lot of fun going thru the stuff.  There is a ton of old rick rack.  Included were a few tools.
This is the desk top opened.  I'm not sure if I'm going to use the sewing table park, but the drawers are going to hold my button making stuff.


Thursday, September 19, 2013

Digitized a GPS bag

I have been taking digitizing classes for the new software I bought.  Two classes ago we digitized a hip bag (crossover bag), quilted with a stippling stitch.

I have made small 5 x 7 bags before.  My son asked If I could make a bag like mine for his GPS.  I pulled out and digitized the bag.
I made noted on the bottom of the back of the bag for the cutting instructions.
Cut 1 - 7 1/2 x 2 front top
Cut 1 - 7 1/2 x 10 front bottom
Cut 2 - 7 1/2 x 6 back
 I sandwiched a piece of batting between the front top and the front bottom
 I embroidered the back first, sandwiching the hooped stabilizer between batting and the two back pieces.  
 Here is my finished first run.
 The inside is hard to see, but I used a cross-stitch type stitch to finish the edges.
 My GPS fits in the bag perfectly with room for the cord also.  I think the next one needs a pocket to hold the cord.  I can decide if the pocket goes on the inside or the outside. 

I will also make  a few changes to the PES file.  I stitched the placement for the zipper, than the stitch down of the zipper was in the same color as the stippling, so my embroidery machine didn't want to stop.  I'll fix that.  I used blue painters tape to hold the zipper in place.

I went ahead and made a bag for my son out the camo fabric he wanted.  I did not make him take the red paisley bag.
 

Wednesday, September 18, 2013

Crochet Hook Cases

I have been working on crochet hook cases for Christmas.  I followed these directions form Today We Made.  I always try to follow the directions the first time, then just kind of do it my way after that. 


Our oldest daughter's whole family; mom, husband, and three kids, even a boy are crocheting.  Everyone will get a hook case for Christmas from Grandma.  I finished three and have four more laying on the cutting table to turn right side out and finish tomorrow.

Friday, September 13, 2013

Twin Skirts


I read on a blog somewhere, where she made jean skirts from legs of old jeans.  My Twin granddaughters are 4.  I had my daughter measured their waist and the length from waist to knee.  I had found some of my old size 22 jeans in a pile to take to the recycling box. The girls’ waist was 20 inches. I measured up from the hem of my jeans, added 1 ½ inched for a waist band and the measurement of the waist band was 20 inches.  The jeans have stretch. I folded over the tops ½ and then 1 inch. Stitched down the waist band and threaded in ¾ inch elastic cut to 19 inches. After I was finished with both skirts, the simple blue jean skirt needed something more. 

Apparently I forgot to take a picture of the embroider skirts.
I embroidered a flower on each one. 

Thursday, September 12, 2013

Two years and the changes

I can’t believe it been almost two years, since I last posted.  People ask me all the time when I say I work for myself, if I have a website.  I was showing off a few things, but the thing that stood out for me was that … It’s been two years.   I have been distracted by my personal journey I have thought about starting a different blog about that journey, but I am a procrastinator, so now it’s weird to start a blog about my weight loss surgery a year and a half after I had it.  Two years ago I weighed over 300 pounds.
Today I have lost 130 pounds, since my surgery.
 
Joann Fabrics had dress forms on one-day-only sale, for $99. I had a dress form for my bigger size and wanted to get one for my new smaller size.    I gave away my larger one to a friend who also sews.  Note:  I adjust the larger form back down to it's starting size.
 
 I am going to be better at posting. I have stuff I’ve sewn the last few years that I never wrote about. Blogs that I have found, that I want to share with other people.  I decided that I’m going to do like they do on TV, and write a bunch of posts, and then have them publish by themselves throughout the week.  So if I get busy with something else, stuff is still happening.  I can always change a publish date if I have something else important to share.